Sunday, March 30, 2014

Wa'apa Build - Part 28 (wae, mast partner, seat, etc)

Been slacking on the updates a bit...so here's a dump of various things accomplished lately...


Leeboard support and seat were constructed and installed...

Three layers of ply are laminated and fit in position. This stiffens and provides support for the leeboard which will go here.

Leeboard support doubles as saddle for one side of seat support timber.

Seat top being coated in preparation for gluing down. Can just see the plywood saddle which supports other side of seat timber.


Comblete, ready for filling, coating, etc...


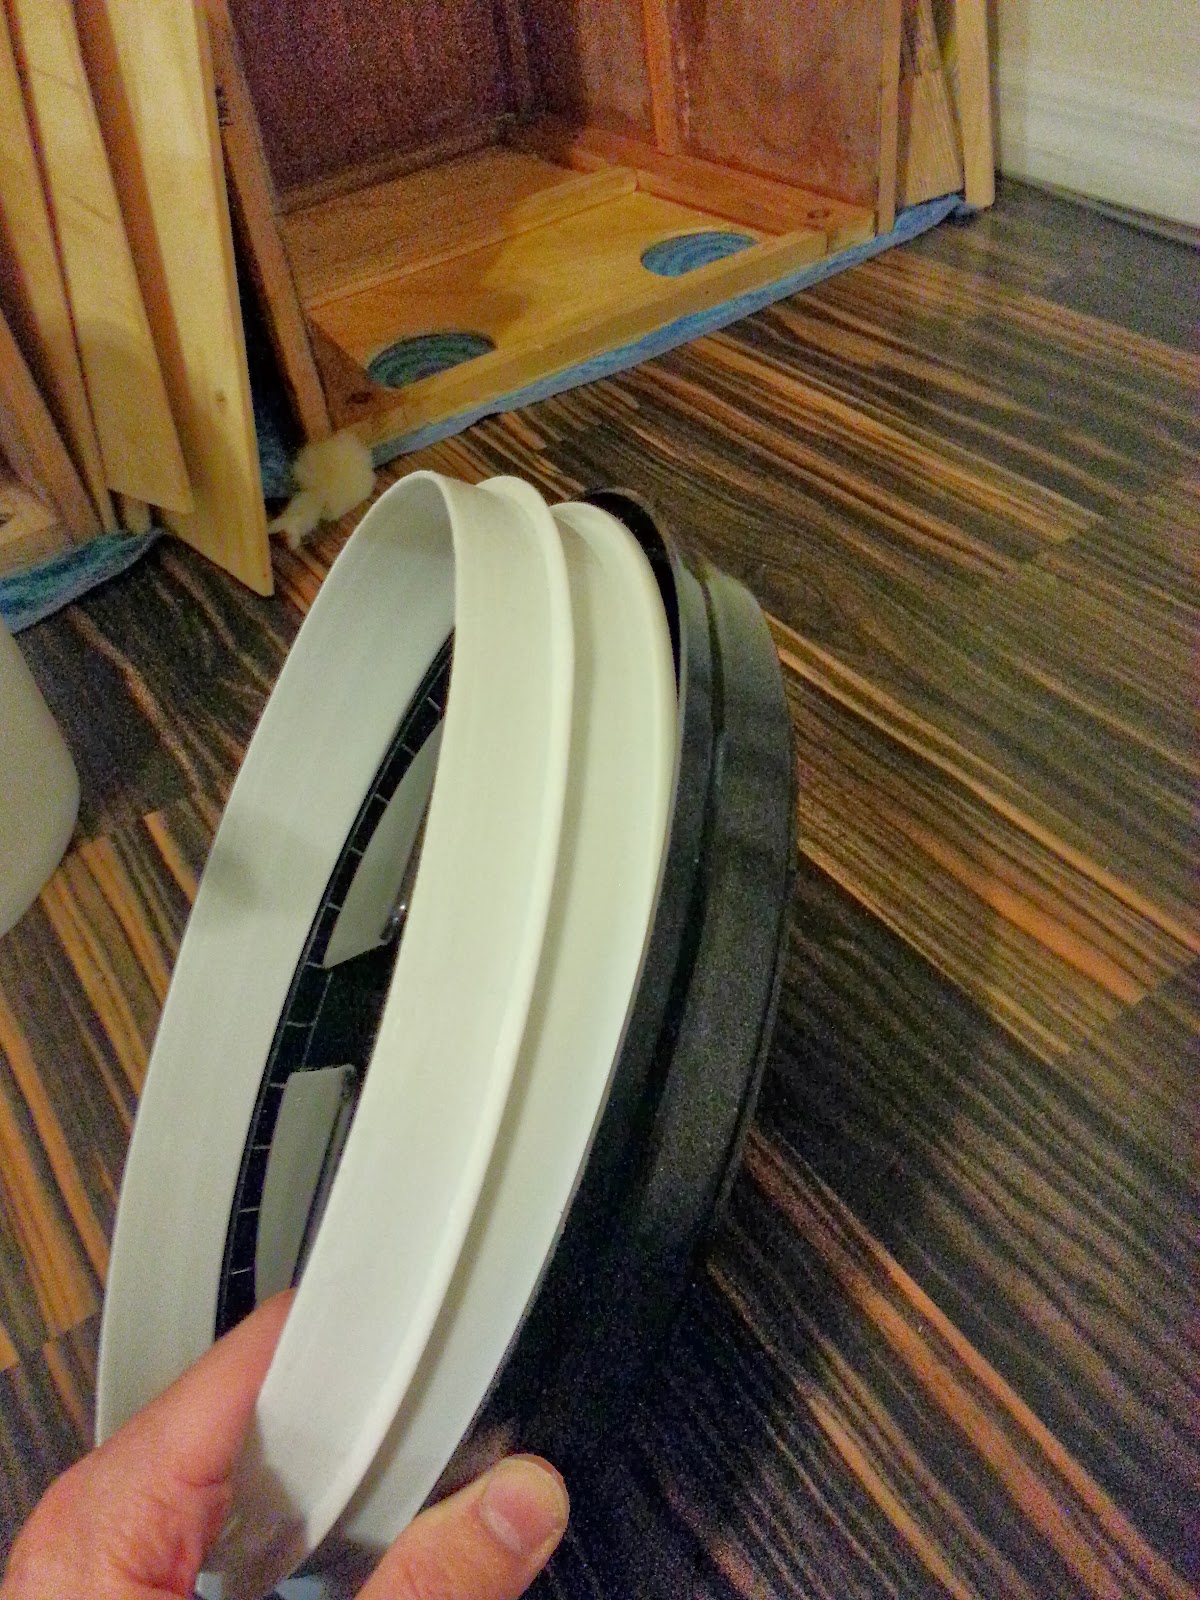
The drainage/scupper holes for cockpit were cut out. Three in total, one in each corner of cockpit except corner where leeboard support is...


Very thin (like card stock) piece of craft ply used as a buffer when cutting to avoid causing damage to floor...


The wae got a bit of edge rounding and shaping, then glued in...


To facilitate making and fitting the mast partner I made a quick dummy mast section of proper size...


Mast partner construction and installation...

Four layers of 6mm ply laminated together...good use for cockpit floor hatch cutouts...


Nip, tuck, plane, sand, etc...and we have ourselves a mast partner...

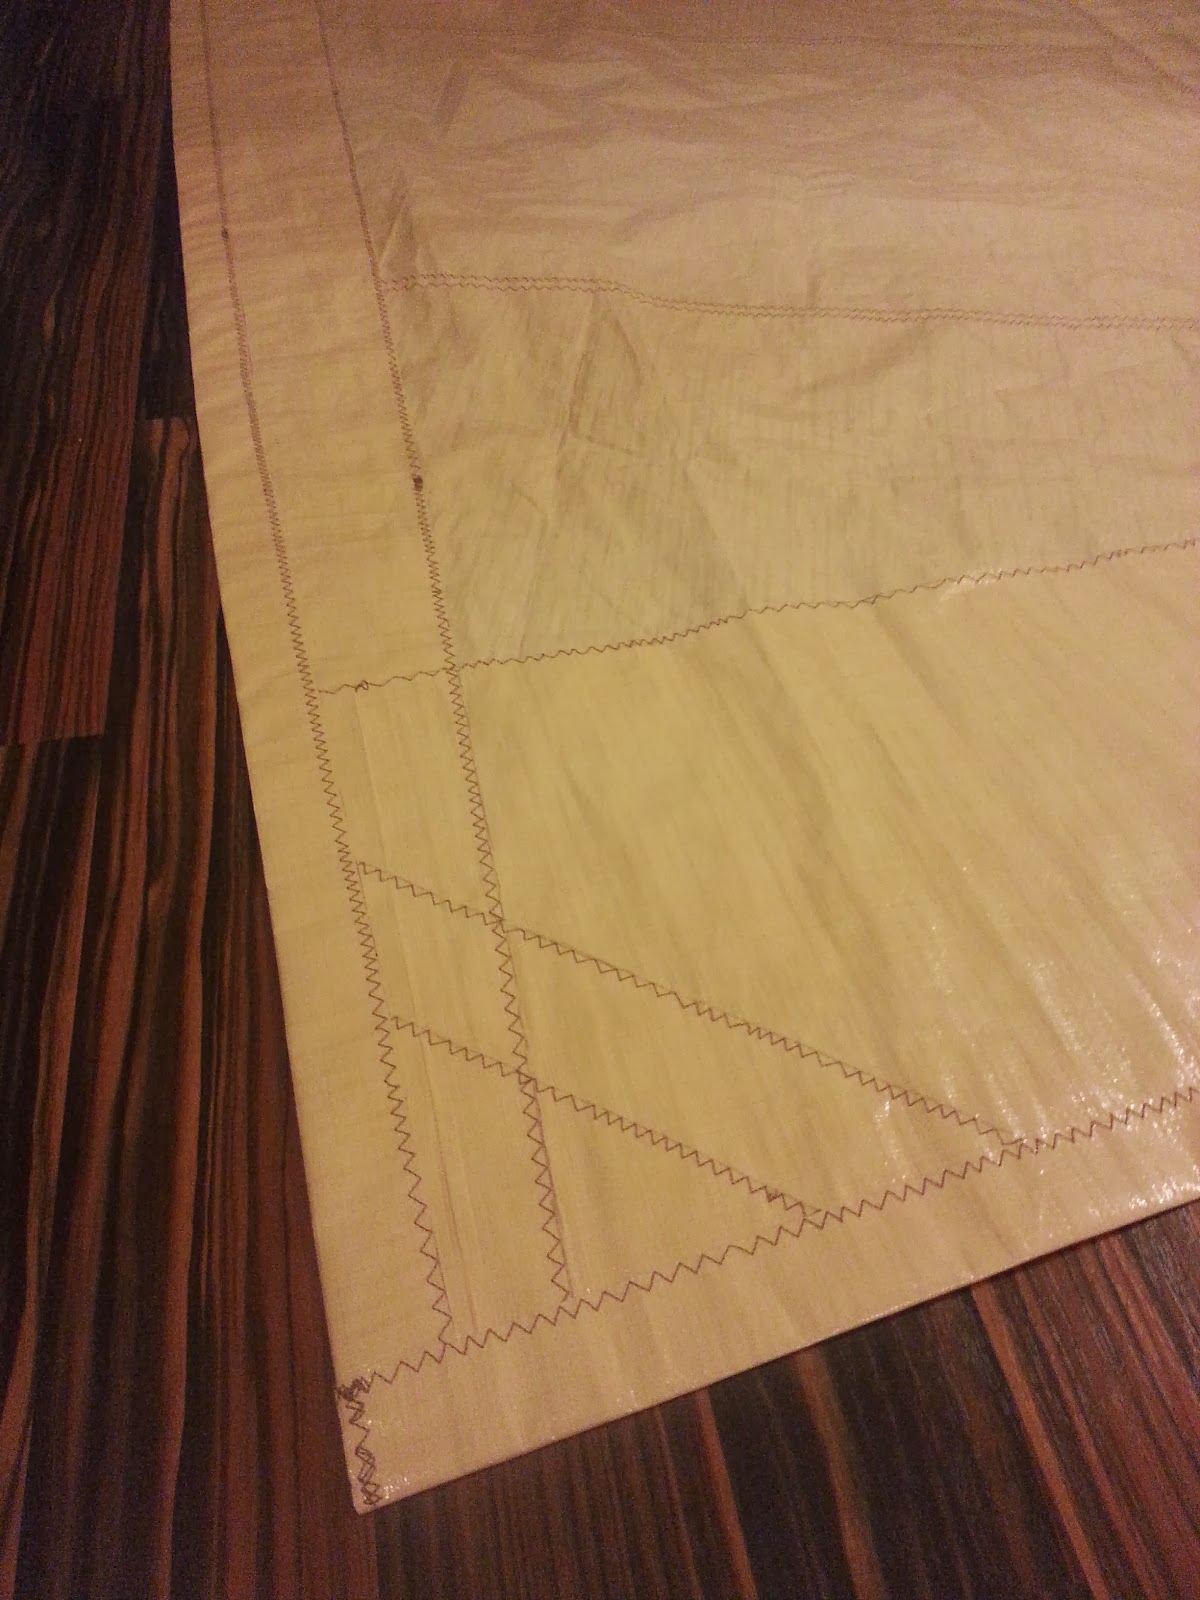
Since bolts are going through, and partner will be under a lot of force..I decided to wrap the wae in a layer of glass to reinforce and protect against splitting or cracking..just in case.

After glass cured and I determined position of partner, I marked and drilled holes for the bolts.

Then partner was clamped into position, the bolts inserted and tightened slightly to mark the partner for drilling. These are 1/4 inch / 6mm stainless lag bolts and washers.

Marks from the bolts let me know exactly where to drill pilot holes in partner to receive the bolts.

Using my drill guide jig, the holes were carefully drilled nice and true.

Extra bracing was constructed and bonded into place to help strengthen and take the side loads from the partner.

Then the partner got buttered up with goo and bolted into place. I used a liberal amount of unthickened epoxy in the holes and on the threads to protect/prevent against moisture ingress. Bolts were tightened just enough to be good and snug and get good squeeze out...but not super tight.

Once cured everything got a few coats of epoxy to seal it all up.


That's it, except for a couple tiny things, this half of the hull is pretty much completed as far as construction goes. Of course I have to get the other half caught up (would be nice to have room to do both at once...)..but that one should go quicker. 


Sunday, March 9, 2014

Wa'apa Build - Part 27 (cockpit floor, wae)

Focus of recent work has been to get the cockpit floors installed and start work on the other bits needed to complete the main hulls. This mainly involved constructing and installing three semi bulkheads, cutting holes for hatches in floor, gluing on stiffeners, epoxy coating, etc. 

Unfortunately the sd card in my phone/camera has gone corrupt and I've lost most of the in progress shots of I had of all that stuff...so not a lot to see this time round..


Floor glued in, epoxy coated, and fillets all around. Also 6mm reinforcement ply glued in where wae will pass through hull.

Can just see one of the semi bulkheads under the floor.

Mast step cut out...

Test fitting the wae. As well as a tie point for the iako/crossbeam, this wae will also have the mast partner attached to it.


Getting there, just gotta keep knocking items off the list...

Friday, February 14, 2014

Wa'apa Build - Part 26 (Hatches on the cheap?)

A while back I came across these Gamma Seal lids for 5 gallon buckets. They have a ring which snaps on top of the bucket, and an inner part which screws into that. Supposed to be air and water tight.

They seemed like a good option for making large cheap hatches out of. I found some locally so grabbed one and a bucket to experiment with.


Top of bucket cut off and excess plastic removed, leaving just the one ring going around.

Lid snaps on tightly. There is a rubber seal in there.


The ring left on top of bucket is perfect distance, just slightly lower than the edge of lid.

Testing fit in a piece of scrap ply.

Fits great and sits nicely on that plastic ring on top of bucket. With some good sealant placed under that ring and pushed down tight it should provide a good seal.

Extends under enough so that screws can be put into some support timber and keep the whole thing in place firmly.


Only con is they aren't exactly low profile and are a bit industrial looking. However I don't think they look too bad, and for only $10 and ten minutes of time to make...it's hard to complain. I think they'll do the job nicely.

Sunday, February 9, 2014

Wa'apa Build - Part 25 (A sail is born)

With weather and other factors conspiring to keep me from working outside much, I decided to get to work building the sail.

The sail I'll be using is a balanced lug based on that outlined in Michael Storers pdracer/ozracer plans. The plans call for using poly tarp to construct the sail, with simple edge round only to build shape into it. I spent some time debating whether to use poly tarp, foot the cost for sail material, order a kit, etc..I finally settled on just using poly tarp for now. It saves me money and I'll have less invested in it in case I decide to go with a different rig later or make a major mistake.

I still wanted to try and build a nice sail though, and learn something about 'proper' sail making. So I decided to build the sail out of shaped panels like one would if using proper material. To facilitate this I plugged the sail dimensions from the plans in to an open source sail designing application called sailcut cad. With the base dimensions plugged in and other things tweaked as necessary and based off information found on the web, I was able to print out plans with all the dimensions needed to recreate the panels in the real. What you end up with is really just a bunch of X and Y coordinates for each panel, that need to be plotted out somehow onto the sail material.

Since I'm limited on space and using a large sheet of poly tarp what I did was this:
  1. Buy some cheap 24 inch wide brown packing paper on 50 foot rolls. I'll plot the coordinates out onto this paper to make patterns to transfer onto the poly tarp.
  2. Set panel width in sailcut cad to width of paper and output the panel coordinates.
  3. Roll out enough paper for panel being worked on, and carefully mark a line at a right angle to the edge of the paper. Measure from this line to mark you X coordinates. Measure from bottom edge of paper to mark Y coordinates. Sailcut outputs some coords as from a fixed point, others are relative to a line between two of those points. I exported the development from sailcut as DXF and brought them into a 3D/CAD package to get fixed coords for all...since plotting those is easier for me.
  4. Once all points are marked out and double checked, connect them with a stiff batten or straight edge as appropriate. This is tedious and takes a fair amount of time to get them all done. Carefully cut along the lines to get your pattern for the panel.
  5. Lay out the poly tarp and tape down the patterns, minding the weave runs along the panel appropriately. Trace out the pattern onto the tarp, I found a very fine point (like a pen) permanent marker worked perfectly.
  6. The patterns represent the finished size, so measure and mark from the lines for seam and hem allowance.
  7. Carefully cut the panels out and assemble the sail.

Ready to plot coordinates.

Finished pattern.

Several patterns together..so far so good.

Trace pattern onto tarp.

Marking seam and hem  allowances.

Panel cut, added reinforcement patches.

Panels going together.

Panels sewn together, fitting reef point and other reinforcements.

On the foot, head, and luff I cut edge to size. I then cut ~3 inch wide strips of material along the weave, folded them in half over the edge, then sewn down.


The leech had a 40mm hem allowance, which was double folded over and sewn d

Reef point reinforcments.


Sewing the round patches was awkward and difficult.

Adding grommets. I carefully cut each grommet hole (after positioning and tracing one) with a sharp utility knife. A dedicated hole cutter would be much quicker and less likely to hurt you or the sail..but
the knife works fine if your careful.


The finished product, sans the reef nettles which I haven't yet decided on.


Lot of labor, at least 40 hours or so I imagin...but very pleased with how it came out. Hopefully it performs well and holds together for a good long while. ;)

Sunday, January 12, 2014

Wa'apa build - Part 24 (Mast step)

In between holiday obligations and the days too cold for working with epoxy, I've gotten the mast step constructed and in place. It's same basic design as to what Mr Dierking showed on his Va'a Motu build..


Support the hull so that the bulkhead is level..I use it as reference for measuring and level.

Measure out and mark position of mast step on gunwales. Mast step is further ahead than this picture indicates..

Then using level transfer marks down to bottom of hull.

Measuring device use to get width measurements for creating bulkhead templates.

Bulkhead template...

Mast step is made of a box, which goes between two semi bulkheads.

Glue two halves..

Epoxy coat inside and then glue box together..

I glued on a bit of hard wood to bottom of step for durability.

Step is sandwiched between bulkheads and sits on the bulkhead timbers, should be quite
strong and spread loads well.

Holes cut...

And gluing into place..

Then gluing in some timber next to step so that saddles, cleats, etc can be installed in this area. Also timbers on outside of bulkhead proving extra support for floor..

Box cut flush..


It's all quite solid and feels plenty strong, will be stronger yet once the floor is laid down...