Following Gary's example,
http://outriggersailingcanoes.blogspot.com/2008/04/pvc-amas.html
http://outriggersailingcanoes.blogspot.com/2009/06/nose-cone-for-pvc-pipe-ama.html
I've decided, for now at least, to make my ama out of a pvc pipe.
Using 4mm ply I cut a profile for the foam nose cone. Kinda shark fin'ish..
Glue foam blocks on each side of the ply to desired thickness. Gorilla glue worked ok, but I might use epoxy/microspheres if I do this again..think it would sand better.
Weight it down..let it cure...
Worked end until it fit in pipe...
Excess comes of with saw, then shaping with 60 and 100 grit paper..
Work until happy enough..
Then two layers of 6oz glass on each side..overlapping and inch or so..
With that done I put it aside for while and got to work on the pvc pipe...
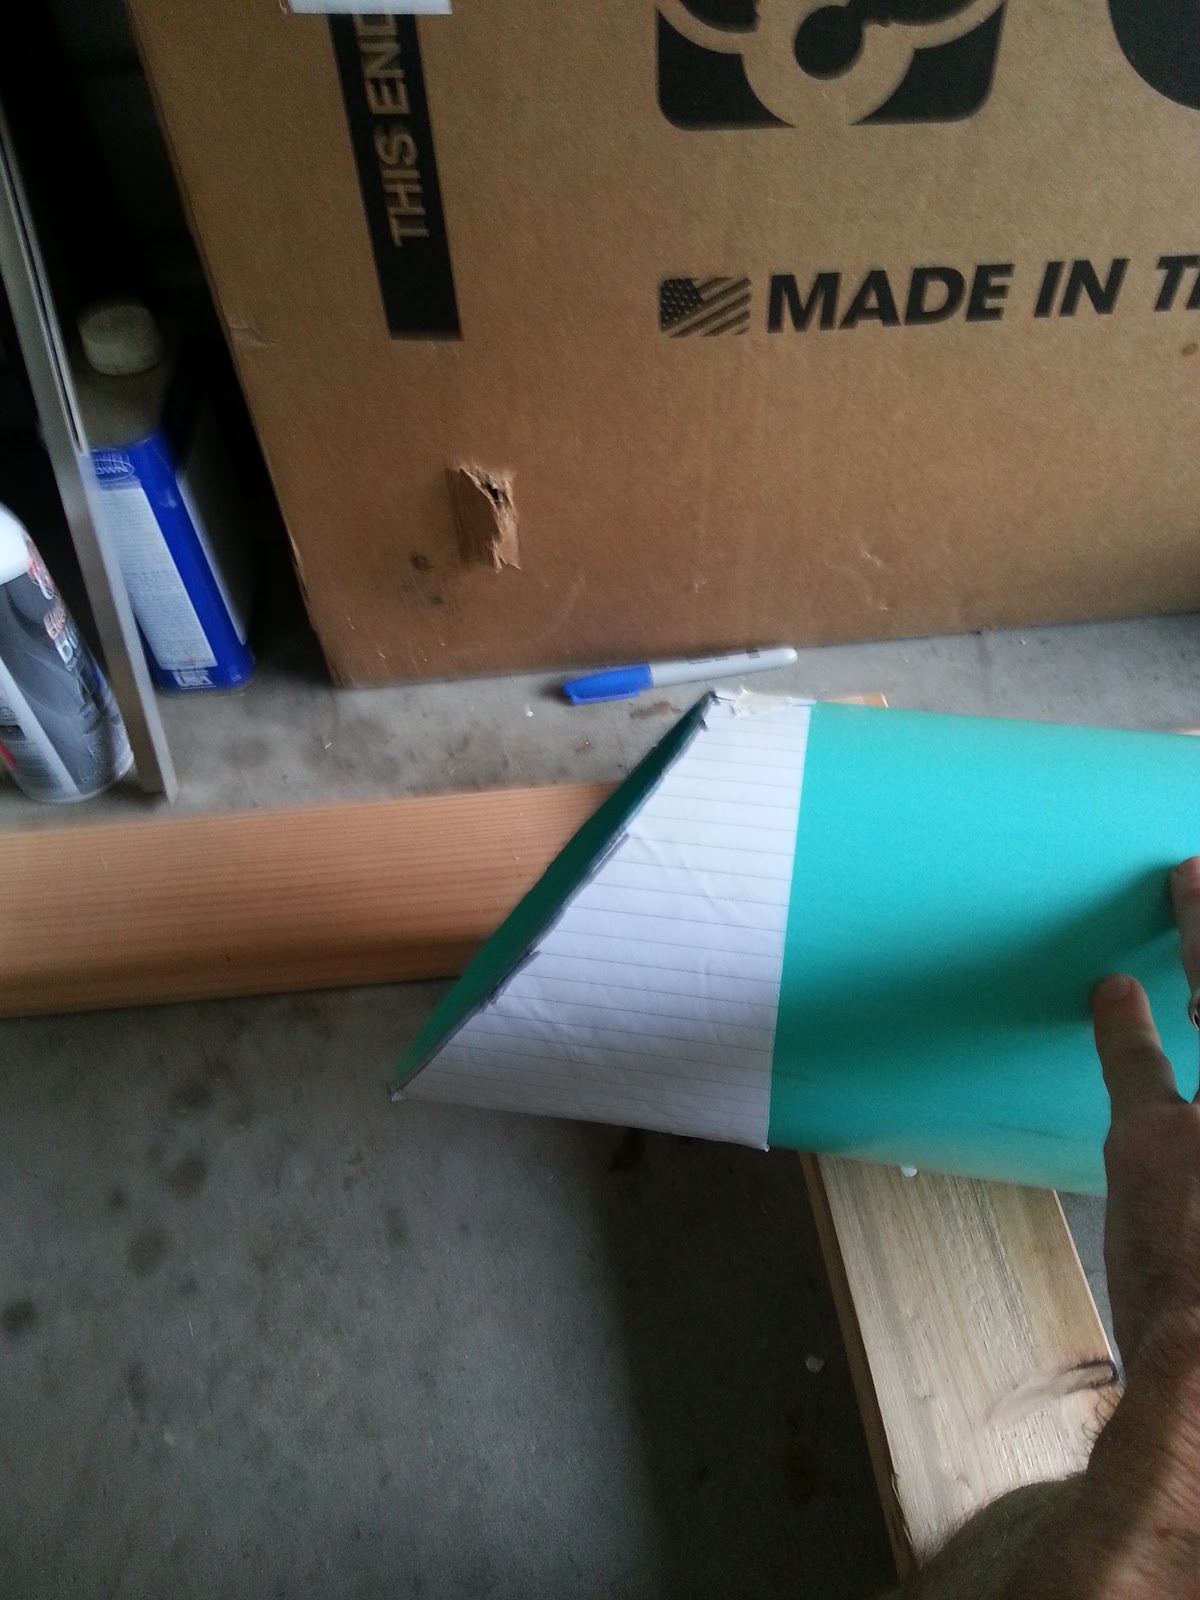
I created and printed this pattern..
Which wrapped around pipe gives a nice 45 degree angle to trace..
Then cut pipe..this is aft end of ama
To strike a center line down ama, I placed clamp at center mark on cut end, and another at the other end..
Then by turning pipe until clamp level, and adjusting the other clamp until it's also level..
and/or eyeballing they line up..
I ran string between clamps and marked out centerline
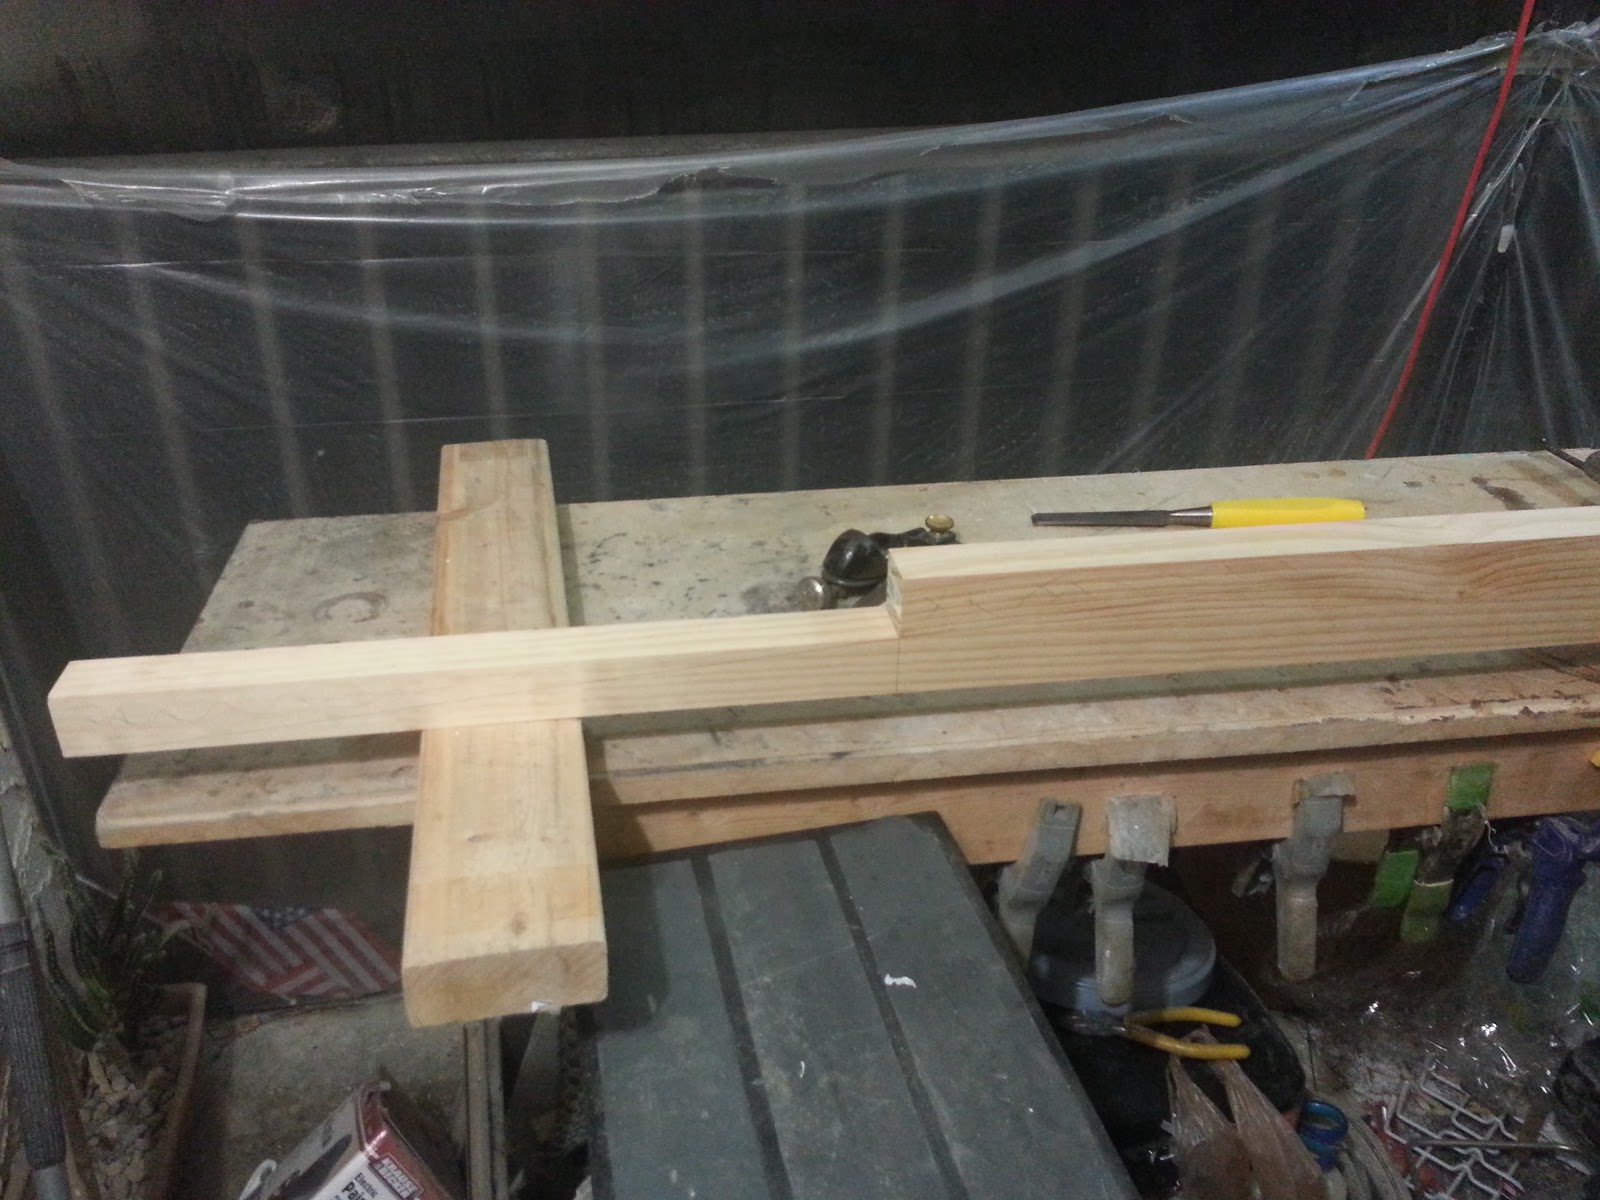
Pipe prepped, I then turned my attention to making the blocks which attach to pipe for the dowel struts..
Mark center line and trace pipe profile onto block..
Then use a chisel to remove as much waste as possible..more you can remove the less sanding to be done..
To finish it off 60 grit paper spray glued to pvc pipe and start working the block to fit...
Much sweat later..
Working out positioning of the blocks..
To attach block to pvc pipe Gary used several large self tapping screws, which I'd prob also do..if I were doing this again. However I saw these neat toggle bolts...
The toggle bolts...
I drilled and countersunk holes to fit the screws and some large washers..
Then positioned and transferred holes to pipe...
Have to make them large..a downside..
The toggle bolts fit in and snap in place...
Snap off the plastic bits, and toggle bolts remain held in place.
With blocks temporarily attached, started working out position of struts and drilling holes for them, and epoxying them into place...
That done, returned to nose cone for fairing into pipe..
Nose cone received liberal dose of epoxy/microballoon fairing mix..
Then stuck into pipe and sanded fair..
Good fit..
Then out came the 3M 5200 and the nose cone glued/sealed into place, the block/strut assemblies glued/screwed down permanently, as well as all the other hatches.
The bucket/gamma seal hatches made previously bedded in 3M 5200 and screwed around the edge to the little blocks under the deck.
6mm ply disc cut to plug aft end of the pipe. Small block of wood glued to back side where whole is drilled for drain plug. Glued in with 3M 5200..
Finishing touches...
Bonded these stainless U Bolts into the strut assembly for lashing to iako.
Then it received several coats of paint. Didn't paint the struts as I wanted to have some wood finished clear. Once other bits like the hiking seats, mast, spars, lee board, etc are added which will also be finished clear..it should all come together.
To finish off the struts they got lashed together with an additional horizontal piece underneath.
Rope soaked with, and struts finished with a spar urethane...
And that's a finished ama. The boats now strapped to the trailer ready for a trip to lake for it's first launch! Ok, so it's only for paddling, as I haven't even started on the mast, spars, rudder, etc and getting everything rigged...
That will all have to wait several more weeks however, as I'll be heading out of country soon for a few weeks vacation...


.jpg)


