Some video of my second sailing day with Groot. Not the greatest quality but...
Showing posts with label outrigger. Show all posts
Showing posts with label outrigger. Show all posts
Monday, February 16, 2015
Friday, January 9, 2015
Wa'apa Build - Part 37 (leeboard and rudder part 1)
The last big piece of the construction puzzle...the leeboard and rudder. I'm using the foil shape that Michael Storer specifies on his boats which requires me to create a very large blank exactly 22mm thick for shaping. With only my circular saw jig for ripping and hand planes for the dimensioning...I've been somewhat dreading this task knowing it will be a lot of labor and needs to be accurate.


Luckily it seems I have gotten fairly good at dimensioning stock with hand tools, having done a fair amount of it now. Certainly saves a trip to the gym...
First step, prep the boards. Planing them smooth, mostly removing machine marks for good gluing surface.
And then ripping them all down to this. I need 22mm final thickness, but ripped staves to 30mm to give myself lots of wiggle room just in case things don't go smoothly at first. After arranging the staves how I thought best, was glued up to form the blank.
Once glue is cured out come the hand planes.
One face flattened, edges jointed, marking my 22mm thickness.
Then lots of work with and the hand planes and several piles of shavings later..
And all finished up at 22mm. A major workout but it worked out perfectly without any drama. Just keep the planes sharp and try to remember you (mostly) enjoy this..and at least you won't need a gym membership anytime soon!
Wa'apa Build - Part 36 (spars & mast continued)
Ok..so a whole new year now and a long long time since an update here. Work has continued slowly when possible, but been lazy to update the blog...so here comes several posts to catch up...
Left off with mast staves being scarfed so...


Then several coats of epoxy to seal up and fill weaves and mast and spars are complete...awaiting sanding and several coats of spar urethane.
Left off with mast staves being scarfed so...
With mast staves scarfed..taper was marked on the narrow ones
And planed down
Large plug for bottom of mast was constructed
And glued to narrow staves then cleaned up
Spacer blocks were fit and glued in
Using center line along wide stave to help align and keep things straight.
Then the wide staves glue on to close it up
All glued up in the rough...
Many shavings later mast cleaned up and looking better
Edges rounded over and bottom section of mast gets a wrap of fiberglass reinforcment. Spars and mast tip also receive wrap of glass on ends to prevent splitting.
Holes drilled into spar ends for attaching the sail, and pad eye fitted to top of mast for the halyard
Then several coats of epoxy to seal up and fill weaves and mast and spars are complete...awaiting sanding and several coats of spar urethane.
Sunday, October 12, 2014
Wa'apa Build - Part 35 (building spars & mast)
Work on spars and mast begins...


I've added another strip of wood to bottom of boom to increase its height and stiffness a bit.


Blanks for yard and boom, to be scarfed to length..
Scarf taper marked, doing a 12:1 scarf on these..
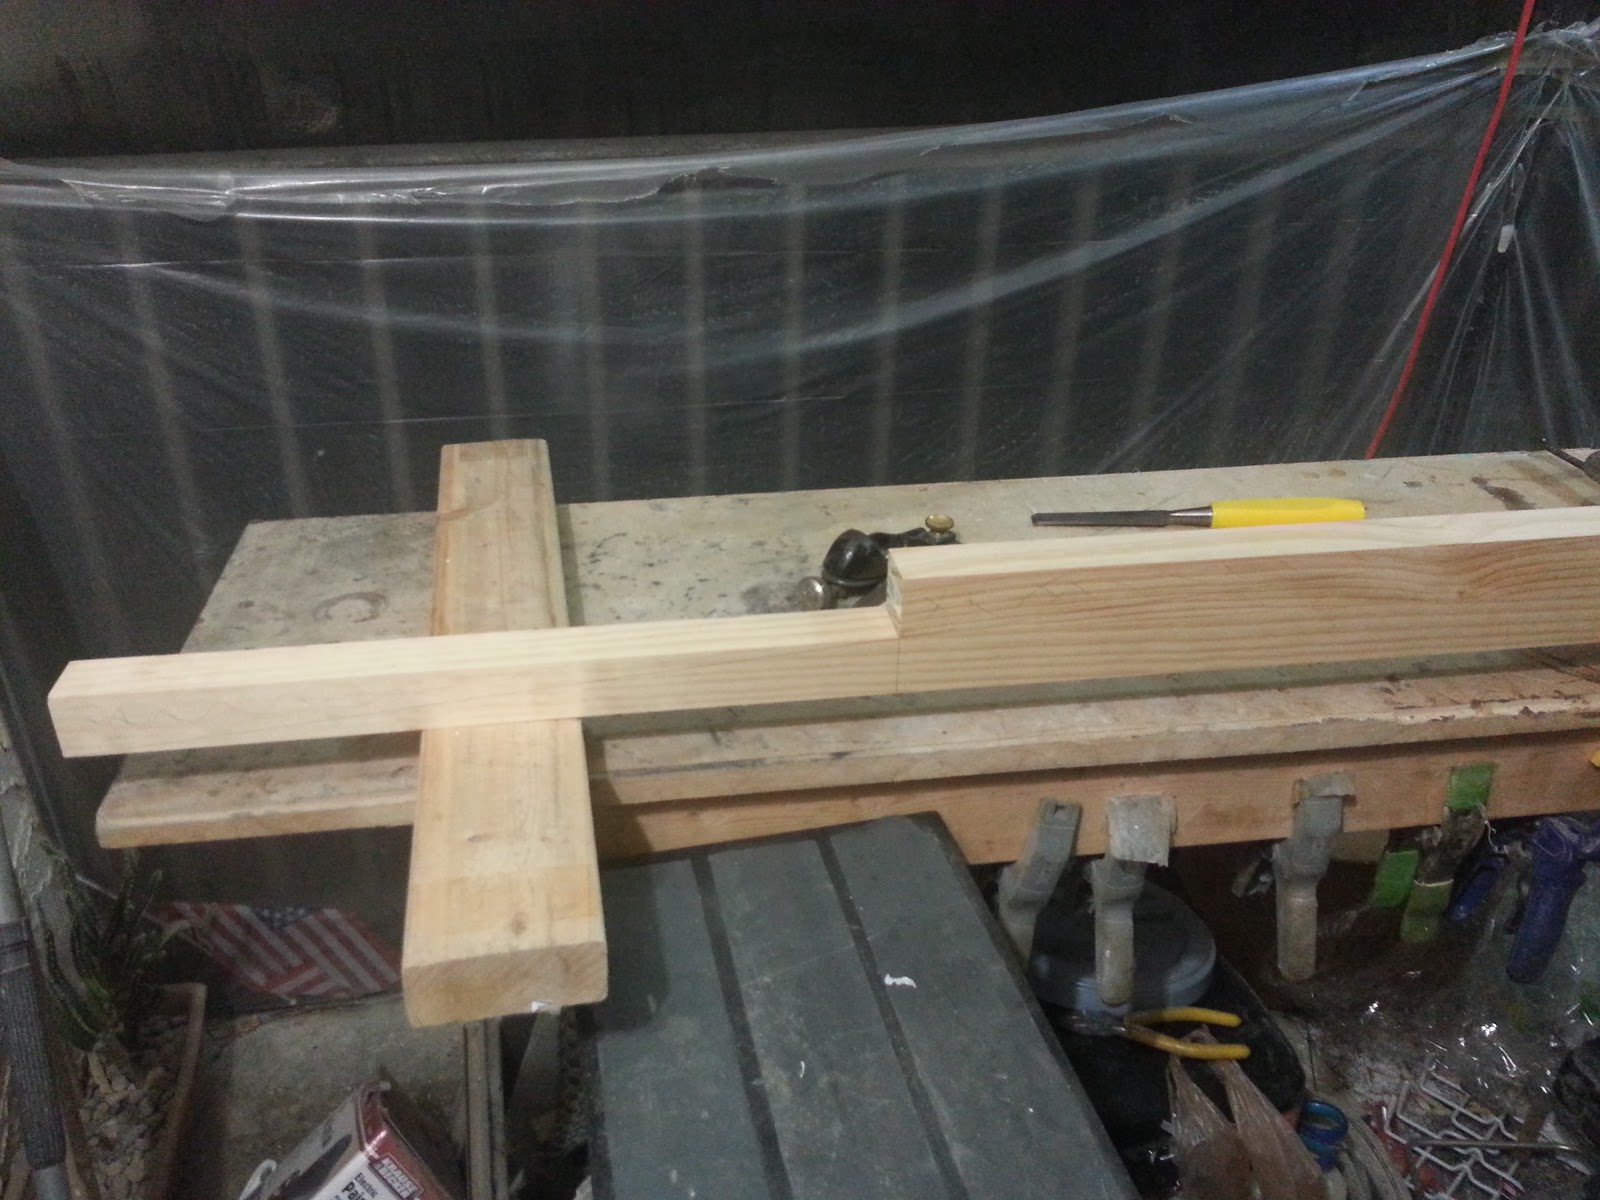
Start making cuts down close to the line.
Chisel and hammer clear most of the waste very quickly.
Then finished up nice with block and jack plane.
Came out very good...phew...
Faces primed with a couple coats of unthickened epoxy in prep for gluing up.
Then buttered up with thickened epoxy and clamped together.
I've added another strip of wood to bottom of boom to increase its height and stiffness a bit.
Another scarf...
And laminated onto the boom...
With everything scarfed up and laminated I proceeded to tapering the yard and boom...
Marking tapers with batten...
Tapers all planed and cleaning up...lots and lots of shavings...
Boom and yard all tapered, edges rounded, and cleaned up...ready for final finishings..
Plans call for yard to be completed rounded, but I'm worried about it being too flexible since I'm using cheap pine rather than douglas fir or spruce like plans recommend. For now I just gave the edges a 1/4 inch round over. Can easily round it more later if it proves to be too stiff...
Glue lines look good...
With yard and boom mostly completely, got started on the mast. Mast will be a simple hollow box section.
Some assembly required...
8:1 scarfs on the wide mast staves
Drill small holes and insert piece of stiff wire to keep pieces from moving around.
Then prepped and glued up...
To be continued...
Sunday, August 31, 2014
Wa'apa Build - Part 33 (Making a pvc ama)
Following Gary's example,
http://outriggersailingcanoes.blogspot.com/2008/04/pvc-amas.html
http://outriggersailingcanoes.blogspot.com/2009/06/nose-cone-for-pvc-pipe-ama.html
I've decided, for now at least, to make my ama out of a pvc pipe.

Using 4mm ply I cut a profile for the foam nose cone. Kinda shark fin'ish..

Glue foam blocks on each side of the ply to desired thickness. Gorilla glue worked ok, but I might use epoxy/microspheres if I do this again..think it would sand better.

Weight it down..let it cure...


Worked end until it fit in pipe...

Excess comes of with saw, then shaping with 60 and 100 grit paper..

Work until happy enough..

Then two layers of 6oz glass on each side..overlapping and inch or so..
With that done I put it aside for while and got to work on the pvc pipe...

I created and printed this pattern..

Which wrapped around pipe gives a nice 45 degree angle to trace..
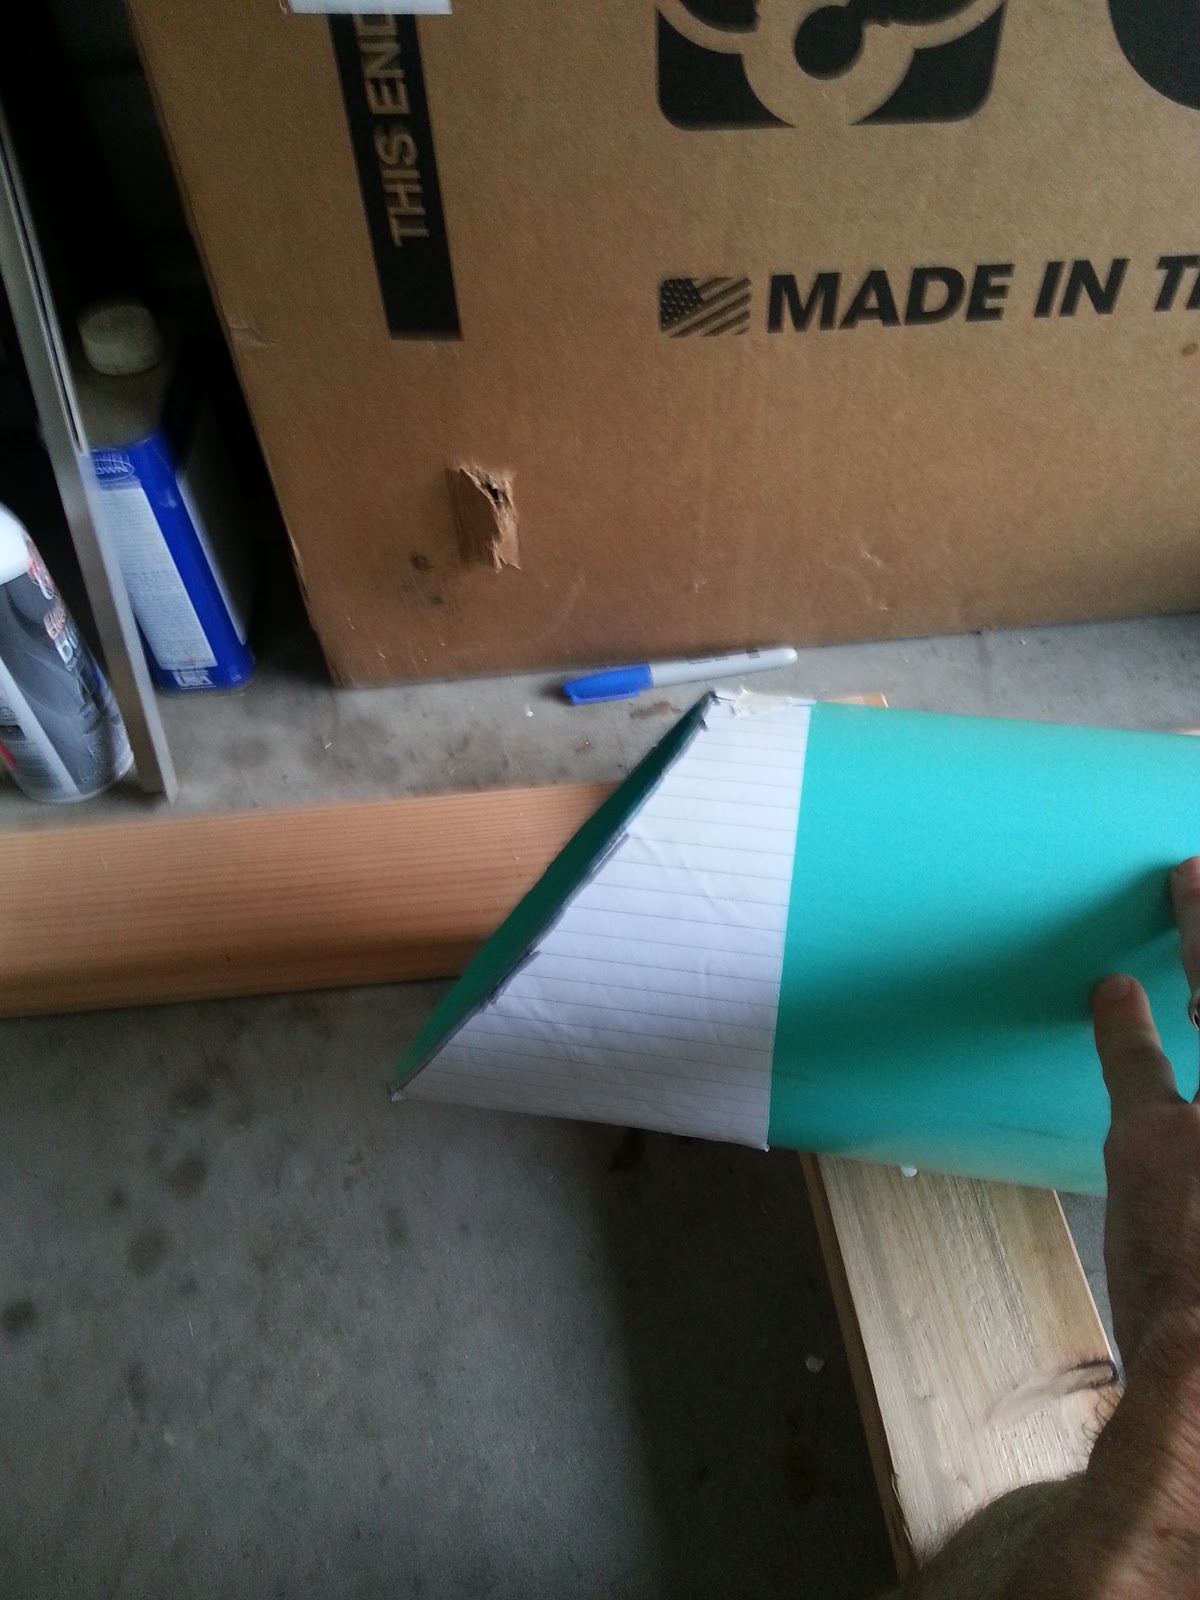
Then cut pipe..this is aft end of ama

To strike a center line down ama, I placed clamp at center mark on cut end, and another at the other end..

Then by turning pipe until clamp level, and adjusting the other clamp until it's also level..

and/or eyeballing they line up..
.jpg)
I ran string between clamps and marked out centerline

Mark center line and trace pipe profile onto block..

Then use a chisel to remove as much waste as possible..more you can remove the less sanding to be done..

To finish it off 60 grit paper spray glued to pvc pipe and start working the block to fit...

Much sweat later..

Working out positioning of the blocks..

The toggle bolts...

I drilled and countersunk holes to fit the screws and some large washers..

Then positioned and transferred holes to pipe...

Have to make them large..a downside..

The toggle bolts fit in and snap in place...

Snap off the plastic bits, and toggle bolts remain held in place.
With blocks temporarily attached, started working out position of struts and drilling holes for them, and epoxying them into place...


That done, returned to nose cone for fairing into pipe..

Nose cone received liberal dose of epoxy/microballoon fairing mix..

Then stuck into pipe and sanded fair..


Good fit..
Then out came the 3M 5200 and the nose cone glued/sealed into place, the block/strut assemblies glued/screwed down permanently, as well as all the other hatches.

The bucket/gamma seal hatches made previously bedded in 3M 5200 and screwed around the edge to the little blocks under the deck.

6mm ply disc cut to plug aft end of the pipe. Small block of wood glued to back side where whole is drilled for drain plug. Glued in with 3M 5200..
Finishing touches...

Bonded these stainless U Bolts into the strut assembly for lashing to iako.

Then it received several coats of paint. Didn't paint the struts as I wanted to have some wood finished clear. Once other bits like the hiking seats, mast, spars, lee board, etc are added which will also be finished clear..it should all come together.
To finish off the struts they got lashed together with an additional horizontal piece underneath.


Rope soaked with, and struts finished with a spar urethane...

And that's a finished ama. The boats now strapped to the trailer ready for a trip to lake for it's first launch! Ok, so it's only for paddling, as I haven't even started on the mast, spars, rudder, etc and getting everything rigged...
That will all have to wait several more weeks however, as I'll be heading out of country soon for a few weeks vacation...
Subscribe to:
Posts (Atom)